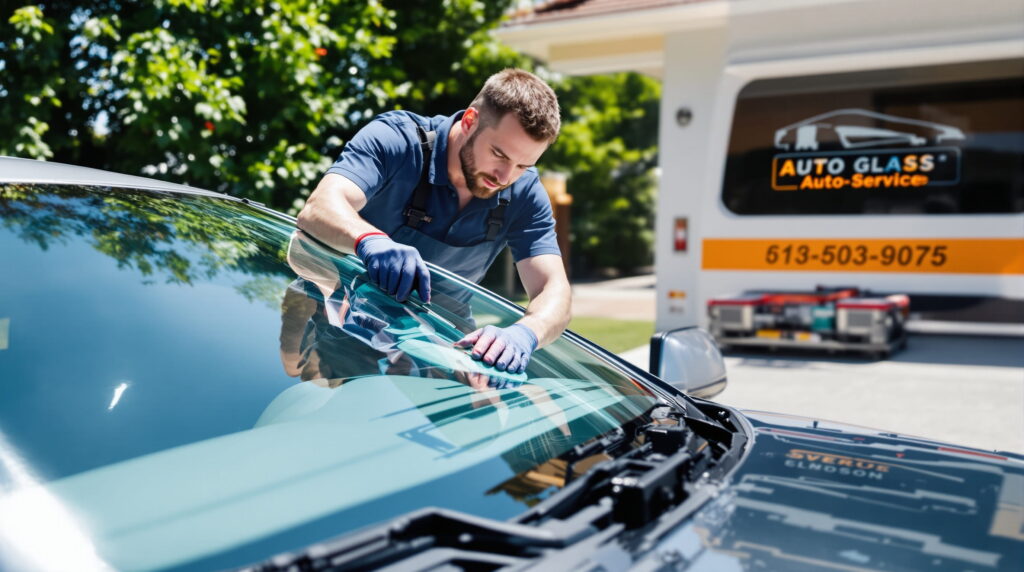
For those facing minor glass blemishes, addressing them swiftly can prevent the need for full replacement. Utilize the convenience of on-the-go services, which send skilled technicians directly to your location, ensuring minimal disruption to your day.
Start by scheduling an appointment that accommodates your schedule. Professionals will assess the damage on-site, determining if it can be treated or if a full swap is necessary. Look for experienced specialists who use high-quality materials to guarantee a robust fix.
Once the assessment is complete, the technician will prepare the area by cleaning the glass and removing any loose debris. They’ll inject a specialized resin into the fracture, allowing it to bond effectively and restore the integrity of the surface. The process typically takes under an hour, allowing you to get back on the road without extensive downtime.
Lastly, ensure that you receive clear guidance on the aftercare. Proper maintenance will prolong the longevity of the repair, keeping your vision clear and enhancing safety while driving.
Understanding the Mobile Windshield Inspection Procedure
Begin the assessment by examining the outside layer for any cracks or chips. These imperfections compromise the integrity of the glass and can worsen over time. Pay close attention to the size and location of each flaw, especially if it falls within the driver’s line of sight. Document findings accurately to ensure transparency in the following steps.
Next, evaluate the interior surface. Dust, debris, or smudges can obscure issues that may not be immediately visible. Utilize a soft cloth or microfiber towel for a thorough cleaning of the inner side before proceeding. This step not only enhances visibility but also identifies any potential spots that could lead to future complications.
- Inspect the surrounding frame for any signs of rust or corrosion.
- Check the sealant to ensure the glass is secured properly.
- Assess the functionality of wipers, as they relate directly to visibility during inclement weather.
Finish with a thorough verbal summary of findings for the vehicle owner. Provide clear recommendations regarding any required actions, whether that be immediate attention or routine monitoring. This transparent communication fosters trust and provides clarity on subsequent steps to ensure safety and proper maintenance of the automobile’s viewing area.
Step-by-Step Guide to Booking a Mobile Windshield Repair Service
Identify your requirements first. Inspect the damage to determine if it’s a crack or chip and assess its location on the glass. This will help ascertain if a technician can address the issue without needing a full replacement.
Research reliable providers. Look for companies that specialize in vehicle glass services in your area. Read reviews and check ratings to gauge customer satisfaction. Verify their credentials and ensure they are licensed and insured.
Once you’ve made your selection, contact the service. Provide details about the damage, including size and location. Ask about their availability, pricing structure, and if they offer any guarantees on their work.
Schedule an appointment that suits you. Select a convenient time and place for the technician to come to you. Confirm any required paperwork or payment methods beforehand to avoid last-minute issues.
Finally, prepare for the technician’s arrival. Clear the area around your vehicle to allow easy access. Make sure to inform the technician of any special instructions before the service begins.
What to Expect During the Mobile Windshield Repair Appointment
Upon arrival, the technician will inspect the damage closely. They will assess the size and depth of the crack or chip to determine the best course of action. Expect them to use specialized tools to evaluate the integrity of the glass and surrounding areas.
Once the technician has evaluated the situation, they will explain their findings and recommend the most suitable solution. This is a crucial moment for you to ask questions and ensure that you understand the method they plan to use.
| Repair Method | Description |
|---|---|
| Resin Application | A liquid resin is injected into the damaged area, then cured with ultraviolet light. |
| Glass Replacement | In cases of significant damage, the entire panel may need to be replaced with a new one. |
During the procedure, a clean and controlled environment is important. The technician may cover the area around the damaged section to prevent dirt or debris from compromising the repair. Expect the entire session to take anywhere from 30 minutes to an hour, depending on the severity of the issue.
After completion, the technician will review the work with you. They may provide maintenance tips to prolong the longevity of the repair. You’ll typically be advised to avoid direct sunlight for a short period to ensure proper curing.